
A violet desktop laser engraving machine has recently been purchased that allows you to engrave and cut different materials with a maximum A3 format (30×40 cm). The machine, model Eleks Laser-A3 Pro 2.5 W, is of stainless steel and acrylic and has a size of 60x45x25 cm. The characteristics of the laser are as follows:
- The laser light is violet and also features a low positioning light.
- It works at a wavelength of 445 nm.
- The power of the laser is 2.5 W but smaller powers can be adjusted using the software used.
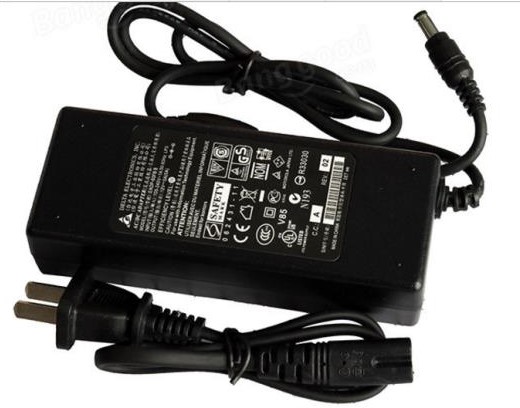
The machine operates correctly for a maximum continuous working time of 2 hours. After this time it is necessary to wait 30 minutes for the laser module to cool down. The equipment requires a working voltage of 12 V and a current of 2.5 V but together with the machine the power is sold. The control of the machine is carried out through the USB interface of the controller board. The following table summarizes the engraving characteristics of the laser cutter:
|
Maximum engraving area |
A3 Format (30×40 cm) |
| Accuracy of engraving |
0.01 mm |
|
Engraving limit height |
There is no such limitation |
|
Recording speed |
Adjustable, the limits of minimum and maximum speed are imposed by the control software used |
|
Duration of burn |
Adjustable in the software used |
|
Engraving materials |
Wood, bamboo, plastic, paper, leather, bank card and rubber |
|
Cutting Materials |
Foam, paper and thin leather |
|
Materials in which you can not record or cut |
Metal, stone, ceramic, shell, transparent material and light reflective materials |
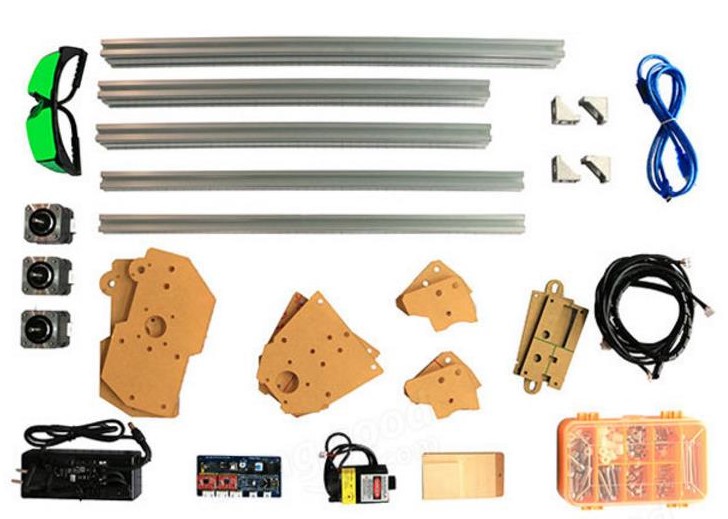
The desktop recorder comes without factory assembly so this work was done in the laboratory with the help of the following video tutorial:


During the assembly of the equipment we have encountered the following problems:
- The acrylic boards that support the engines did not have screw holes made correctly since when we assembled it we realized that the motor was not fixed since the screw holes were not close enough and there was slack. To solve this problem the holes of the boards were enlarged in the desired direction and to prevent the screw from moving once the machine was installed nuts with spikes were inserted and inserted into the acrylic board in the proper position.
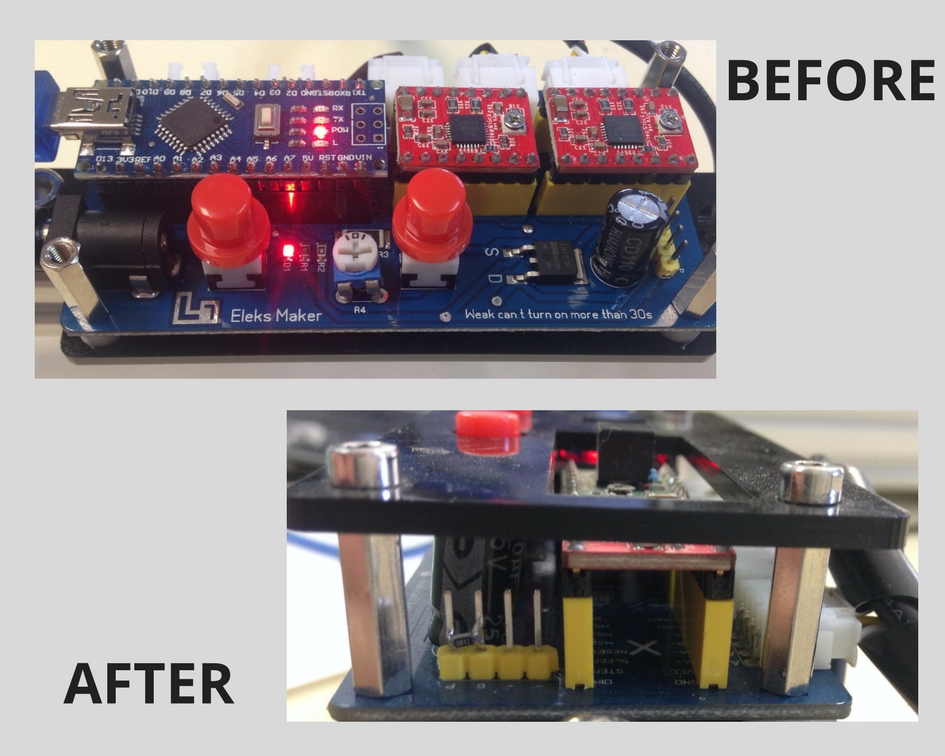
- After the first tests we saw that the user did not completely control the laser module and sometimes it was turned on when it did not or did not respond to the ON-OFF buttons of the software. To solve this problem the circuit of the controller board was analyzed and it was seen that the transistor door was not correctly connected to ground. Therefore, it was sometimes floating and the user lost control of the laser. To solve this, a 6.12 Ω resistor (6R12) was inserted between the door and the ground.
To finish we leave some videos of the first tests carried out: