
LaserWeb is a free software that allows to control printers, engravers and laser cutters since it supports different firmwares: Grbl, Marlin, Smoothieware and LasaurGrbl. Currently the latest version of this tool is version 3 and is in the project’s GitHub repository (https://github.com/LaserWeb/LaserWeb3). Laser Web is based on Node.js and is supported by most platforms: Windows, Linux, Mac, Raspberry Pi and Vagrant.
INSTALLATION
First, the hardware of the machine is slightly modified. Specifically you have to change the Jumper that incorporates, as it is seen in the following image, so that in S we have V0.9.

To install the software on a computer with Windows operating system requires the Google Chrome browser and the following steps must be performed.
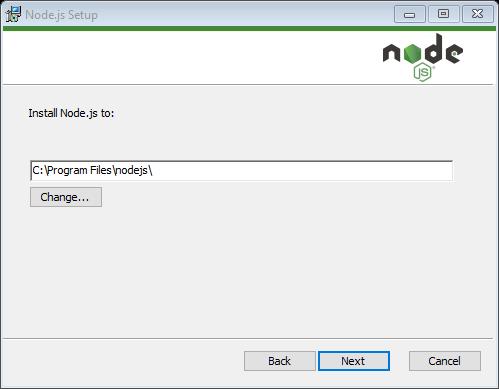
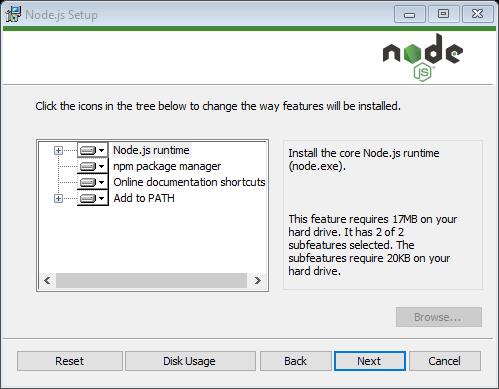
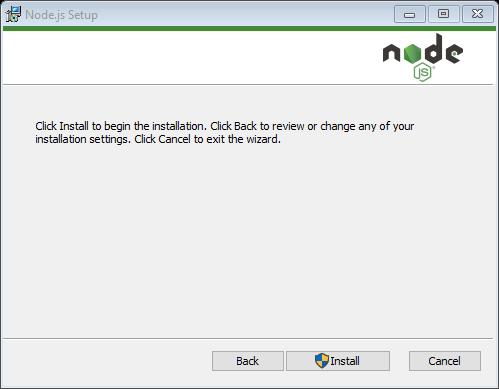
- If we have any version of Node.js lower than Node 6.x LTS installed we must remove it and download and install this version. Link: https://nodejs.org/en/download/.


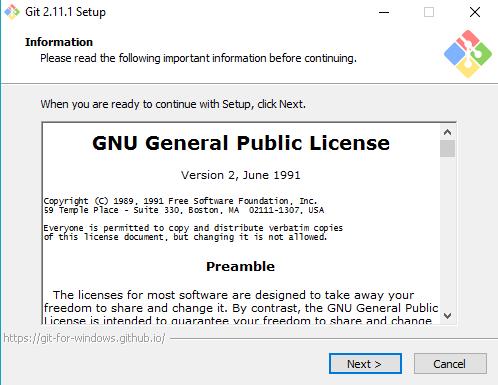
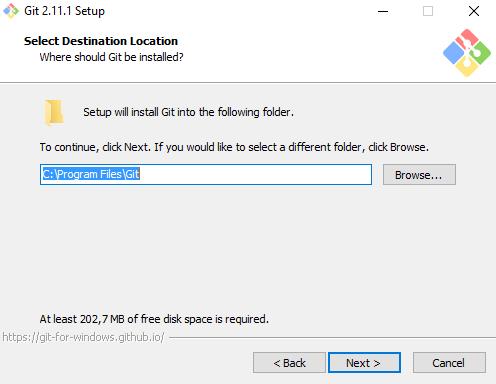
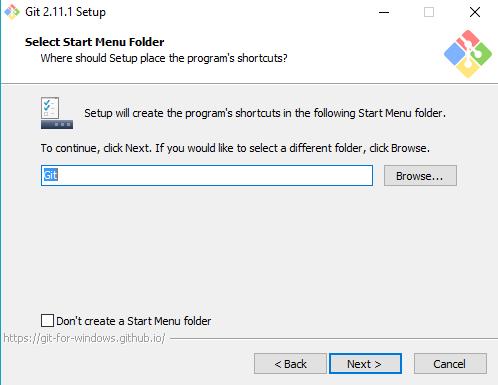
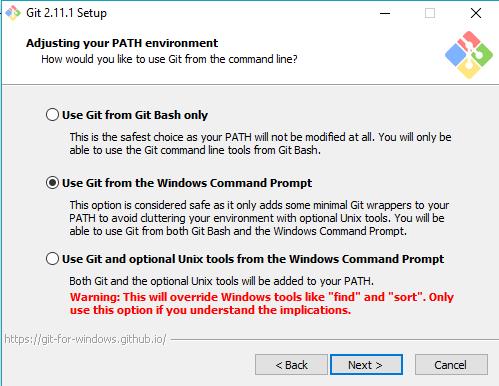
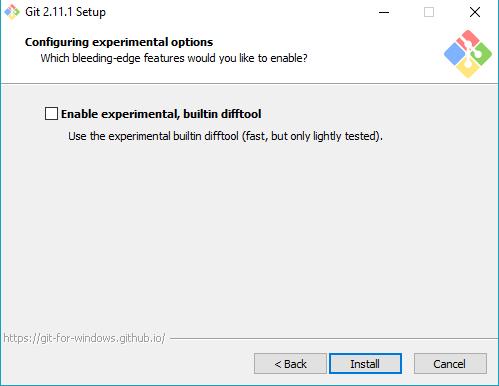
- Download and install the Git tool for Windows from the official page. Link: https://git-scm.com/download/win.


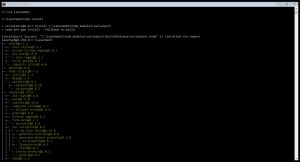
- LaserWeb Download. For this we open a command window (cmd) and we are in the direction C: >. Now we will download the GitHub repository using the Git tool. To do this, we must enter the following command so that it will create in C: > the directory LaserWeb3 that contains the repository.

- Installing LaserWeb. Go to the created directory and install node.js using the command npm install. Sometimes this command can fail if the appropriate version of the serialport is not installed, if this happens then run npm install serialport and then npm install.
- Then we load the firmware. To do this, you must download the program XLoader that allows us to load a firmware to any controller card. We run XLoader.exe and select the hexadecimal file containing the firmware Grbl, the port to which it is connected and the Baud rate will appear by default. It is advisable to upload the latest Grbl version of the link provided by the LaserWeb designers: https://github.com/gnea/grbl/releases. In particular we have installed Grbl version 1.1f, updated on January 31, 2017 (1f.20170131.hex). This can be seen by accessing the board as a serial port, for example with the software PuTTy indicating the COMx port and a Baudrate of 115200. Once shown the message indicating the version of Grbl installed can see the parameters defined by default by typing $.


- In addition, to check if there is an update of the software version LaserWeb we must go to the command window (cmd), enter the software directory (C: LaserWeb3) and run the git pull command that checks if there is any update.
- To open the LaserWeb software, the command node server.js will be executed, placing us in the directory C:LaserWeb3.
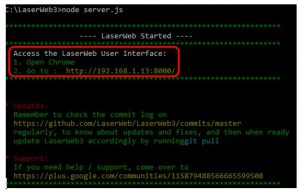
- At this point, LaserWeb has been started and only Google Chrome is missing the indicated URL.
CONFIGURATION
We have finished configuring the software by entering the settings tab Settings and defining the size and GCode parameters required depending on the laser recorder to use.
We must specify the engraving area of the machine and the diameter of the laser beam: X-length 400 mm, Y-length 300 mm, Diameter of the laser beam 0.5 mm. The default DPI import values for generic SVG, Inkscape, Illustrator, and Bitmap files are: Generic SVG 86 DPI, Inkscape 72 DPI, Illustrator 72 DPI, and Bitmap 300 DPI.
On the other hand, we configure the pre/post commands and GCode control. Specifically, it is necessary to indicate the maximum speed measured in revolutions per minute (RPM) for the maximum value of PWM, the Homing sequence that is sent by clicking on the buttons of the software and the speed of movement or advance G0. For our equipment we must set the following parameters GCode: the parameter PWM Max S value in Grbl is programmed at 1000 RPM which indicates that the PWM output does not exceed 5 V. The Homing Sequence to G28 and Travel moves to 30 mm / s. Optionally we indicate that the start Gcode command is the G28 and end the M30 as well as the commands pre and post G1 (command of movement) are M3 (laser ignition) and M5 (laser shutdown) respectively. In addition, a laser power 1 S and a burn duration of 10 ms have been defined by default.
To save configuration changes, refresh the page. To avoid writing all parameters every time the program is used, it is possible to save a configuration profile with the extension .json by going to Settings / Backup / Backup Settings.
Sometimes a message may appear in the software itself asking to enable the option of Google Chrome «Ignore the software render list». This is done by putting in the URL chorme: // flags and allows the machine and the software to communicate correctly.
![]()
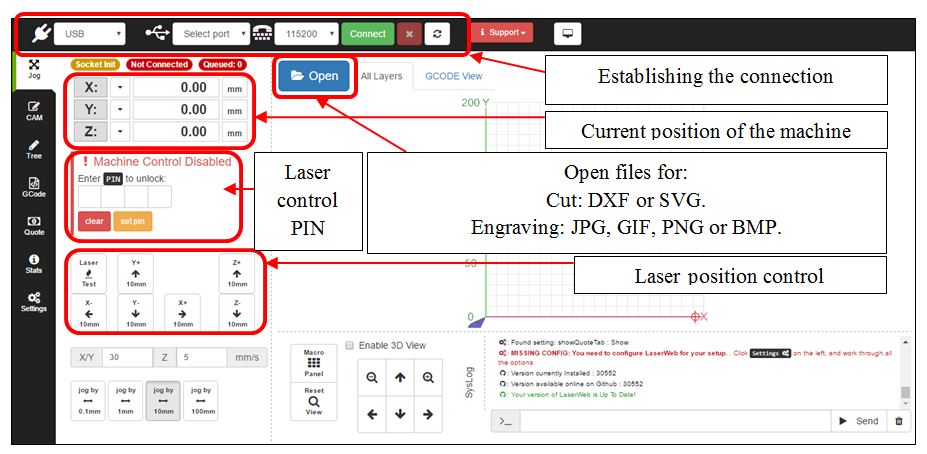
GRAPHIC INTERFACE
This software includes an extra security option «Laser control PIN», which allows us to enter a 4-digit PIN to unlock the laser control. With this option we will be sure that the laser will not be activated by mistake unless we first enter the PIN.

The menu of this software is more advanced and includes the following options:
- The CAM menu allows you to modify the parameters of the file you want to record as well as convert it to Gcode for your engraving. Some of these parameters are the resolution DPI by pixel that modifies the size of the image, the number of passes of the laser or to modify the position of the image.
- The Tree menu is in progress in the current version of LaserWeb (LaserWeb3).
- The GCode menu is complementary to the CAM menu since it allows us to export the generated GCode.
- The Quotes menu informs us about the time the machine uses to do the job. The software estimates this time using the final GCode length of the generated codeSpecifically, it gives us information about the installation cost once the laser has been switched off (in ps), the cost of the material per cm2 (in ps • cm2), the movement of the machine per cm and the quantity in units.
- The Stats menu shows a statistic of accumulated working time on LaserWeb.
- Finally, in the Settings we find different configuration menus:
- Machine specific configuration and DPI import.
- Configuring Control Commands.
- Sets the way the application works and the power-off and on.
- Download the backup profile, restore the configuration from a backup file and load a pre-configured profile.